If you’re figuring out how to prepare a house for exterior painting, you need to know that a lasting paint job depends mostly on the prep.
Everything that decides whether the finish holds for years or peels in two summers happens before anyone opens a bucket.
Here’s the whole process, step by step, in the order a pro does it.
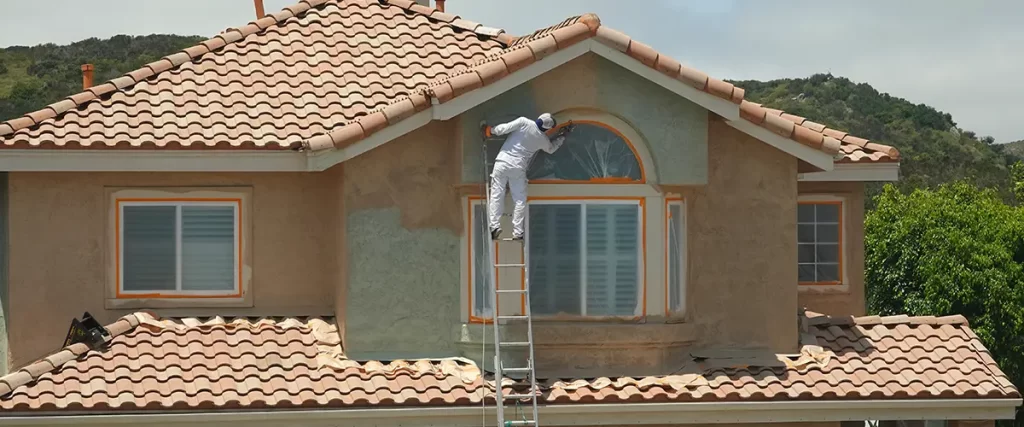
Step 1: Walk the House and Make a List
Walk around the outside with a notepad, on a bright day when the light catches every flaw. You’re hunting for the trouble your new paint would otherwise cover up.
Flag these as you go:
- Peeling or flaking paint, worst on the sunny south and west walls
- Soft or spongy wood around window sills, trim, and fascia, which usually means rot
- Cracked or missing caulk at the seams around windows and doors
- Chalky residue that rubs off white on your palm
- Mildew in the shady corners the sun never quite reaches
Write it all down. That list defines the scope of the job.
Step 2: Wash It Down, Then Let It Dry
Paint won’t stick to a dirty wall, so we start every job with a full pressure washing to strip off dirt, chalk, and loose paint.
On wood siding, use a lighter touch, since too much pressure can gouge the boards or drive water behind them.
Mildew is its own problem, because it grows straight back through fresh paint if you only rinse it. You’ll have to kill it with a bleach-and-water mix.
Then, give the siding a couple of dry days, or you’ll seal moisture in the wall and watch the coat blister when the heat sets in.
Step 3: Scrape and Sand
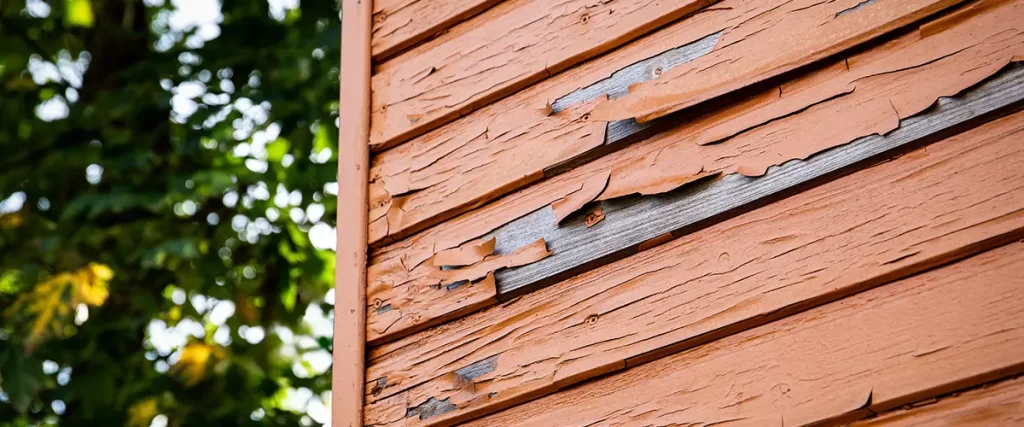
Scrape off the loose and peeling paint, working along the grain so you don’t tear up the wood. Then, sand the ridges where old paint meets bare spots, so they don’t show through the fresh finish.
Step 4: Repair the Wood and Reseal the Seams
Now fix what the scraping turned up.
Cut out and replace any soft or rotted wood, or patch smaller spots with two-part epoxy. Paint won’t stop rot that’s already underway.
Reseal the seams with fresh exterior caulk around windows, doors, and where trim meets siding.
Leave the bottom edge alone, though. That gap is meant to breathe, and caulking it shut traps moisture in the wall.
Step 5: Prime the Bare Spots
Every place you scraped to raw wood (plus any stain or knot that might bleed through) needs primer so old stains don’t work up through the fresh coat later.
Priming just the bare and repaired areas is usually enough, unless you’re making a drastic color change.
Step 6: Cover Everything You’re Not Painting
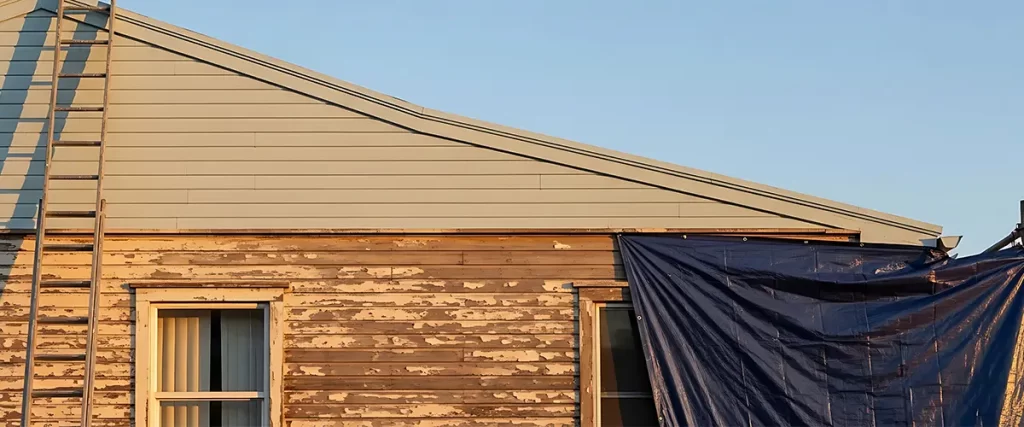
Before the first coat, cover everything nearby: drop cloths on the shrubs and beds, plastic sheeting on windows and light fixtures, and painter’s tape along the edges you want sharp.
Move the grill and patio furniture out of the way, too. Ten minutes now saves an afternoon of scrubbing paint off your lawn chair.
Important Things To Consider Before You Prep
Three factors decide how much work those steps take.
Time It for the Weather
Prep and paint both hate extremes. Most exterior paint wants a temperature between about 50 and 85 degrees and low humidity, so spring and fall are the sweet spots around here.
Heat and humidity are their own beast in Middle Tennessee, and we get into that in our rundown of how the local climate affects exterior paint.
Paint that dries too fast in the heat or never cures in the damp won’t last, no matter how good your prep was.
Different Surfaces Require Slightly Different Prep
Not every wall asks for the same work, so here’s the short version by material:
| Surface | What the prep focuses on |
| Wood siding | Scraping, sanding, epoxy for rot, primer on bare wood |
| Fiber cement | Gentle washing, fresh caulk at seams, repriming worn spots |
| Brick | Cleaning, a full dry-out, a breathable masonry primer |
| Stucco | Patching cracks and sealing with a masonry primer |
If Your House Predates 1978, Test for Lead
Homes painted before the government banned lead-based paint from housing in 1978 can carry lead in those old layers. Scraping or sanding it throws fine dust across your yard that’s dangerous for kids and pets.
If your house is that old and the paint is failing, test it before you sand, or bring in professional painters certified to handle it safely.
Common Questions About Exterior Paint Prep
How long does prepping a house for exterior painting take?
On a typical single-story home, a few days. It can be longer if there’s a lot of scraping, rot, or old caulk to redo. Prep almost always takes longer than the painting itself.
Do I really have to pressure wash before painting?
Yes, or at least wash it well by hand. New paint needs a clean surface to bond to, and skipping this is one of the most common reasons a coat peels early.
If Prepping the Whole House Sounds Like Too Much
Our in-house crew has prepped and painted more than a thousand home exteriors across Franklin, Brentwood, and Nashville, backed by a 2-year warranty.
If you’d rather skip the hassle, we handle exterior painting from the first wash to the final coat.
Call us at (615) 673-5773 or message us here.